This page contains affiliate links; we may earn a commission from bookings. Ratings from Viator & Tripadvisor.
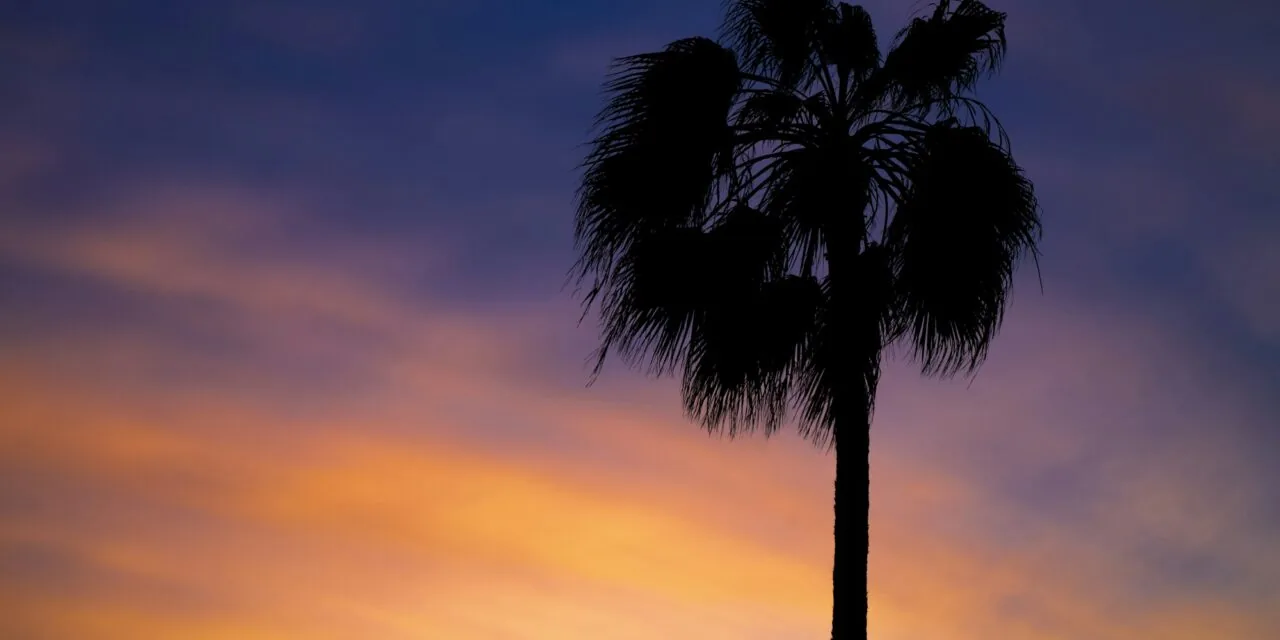
Sunset photography in Aruba is easy to start and hard to get right. Phones and cameras often turn a glowing sky into a white blob over a black beach. This guide covers the phone and camera settings that fix that, how to compose around fofoti trees, the lighthouse and boats, how to shoot silhouettes, and how to keep sand, wind and salt away from your gear.
Quick answer: sunset photography in Aruba
- When: arrive about 45 minutes before sunset, which falls between about 6:10 p.m. and 7:10 p.m. depending on the month, and stay 20 minutes after.
- Phone: tap the bright sky to set focus, lock exposure, then drag exposure down. Skip digital zoom.
- Camera: low ISO, around f/8, expose for the sky, and bracket. Use a daylight or cloudy white balance instead of auto.
- Composition: give the sky a subject. Fofoti trees, the California Lighthouse, boats and people make strong silhouettes.
- Gear care: wind carries sand and spray, so change lenses off the beach.
Timing your sunset photos
The light changes fast this close to the equator. Golden hour starts only about 25 to 30 minutes before sunset, and the blue afterglow fades roughly 20 to 25 minutes after. On October 15, 2026, for example, golden hour starts around 5:53 p.m., sunset is around 6:21 p.m., and blue hour ends around 6:43 p.m. in Oranjestad (times calculated by All Tours Aruba; see our Aruba sunset times by month, or check a calculator such as timeanddate.com for your date).
That gives you a simple plan:
- 45 minutes before sunset: find your spot, set up and take test shots while the light is still bright.
- Golden hour: shoot portraits and anything with warm side light on faces, trees or sand.
- The last few minutes: silhouettes and the sun touching the water.
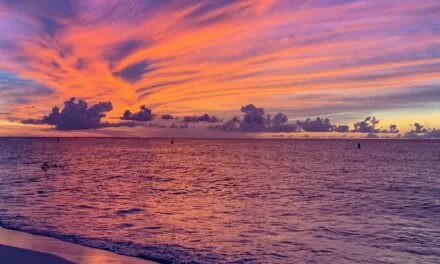
- After sunset: keep shooting. The sky often turns its richest pink and purple once the sun is gone.
For where to stand, see our best sunset spots in Aruba.
Phone settings for sunset photos
Phones handle sunsets well if you take control of exposure instead of letting the phone guess.
- Lock exposure on the sky. Tap and hold the bright area near (not on) the sun to lock focus and exposure, then slide exposure down until the colors look rich.
- Know when to use HDR. Leave it on for detail in both sky and beach. For crisp silhouettes, turn it off if your phone allows it, or just drag exposure down after locking it.
- Skip digital zoom. Pinch-zooming just crops and softens. Use your phone’s built-in telephoto lens (often marked 2x, 3x or 5x) or walk closer.
- Turn off the flash and turn on grid lines. Flash won’t reach the sky and flattens faces; the grid keeps a flat sea horizon level.
- Shoot RAW if your phone offers it, for more room to recover sky detail.
- Try night mode after sunset, bracing the phone on something steady.
Camera settings for sunset photos
These are starting points from standard photography practice, not fixed rules. Adjust as the light drops.
| Setting | Starting point | Why |
|---|---|---|
| Mode | Aperture priority or manual | Keeps depth of field consistent while light changes |
| ISO | 100–200 while there’s light | Cleanest files; raise it during blue hour if handheld |
| Aperture | f/8–f/11 for landscapes; f/2.8–f/4 for portraits | Sharp front to back, or soft background behind people |
| Shutter speed | Whatever the meter gives at those settings | Keep it above 1/(focal length) handheld, or use a tripod |
| Metering | Expose for the sky, then check the histogram | Blown-out highlights in the sky can’t be recovered |
| White balance | Daylight or cloudy preset | Auto tends to cancel out the warm tones you came for |
| Bracketing | 3–5 frames, 1–2 stops apart | Lets you blend sky and foreground later |
| File format | RAW | More latitude for highlights and color |
Keep a full, bright sun out of the center of the frame unless something partly blocks it, or you’ll get heavy flare. And never look at the sun through an optical viewfinder, especially with a telephoto lens; use live view instead.
Composition: give the sky a subject
A sunset over open water looks great in person and flat in a photo. The fix is a foreground subject with a strong outline.
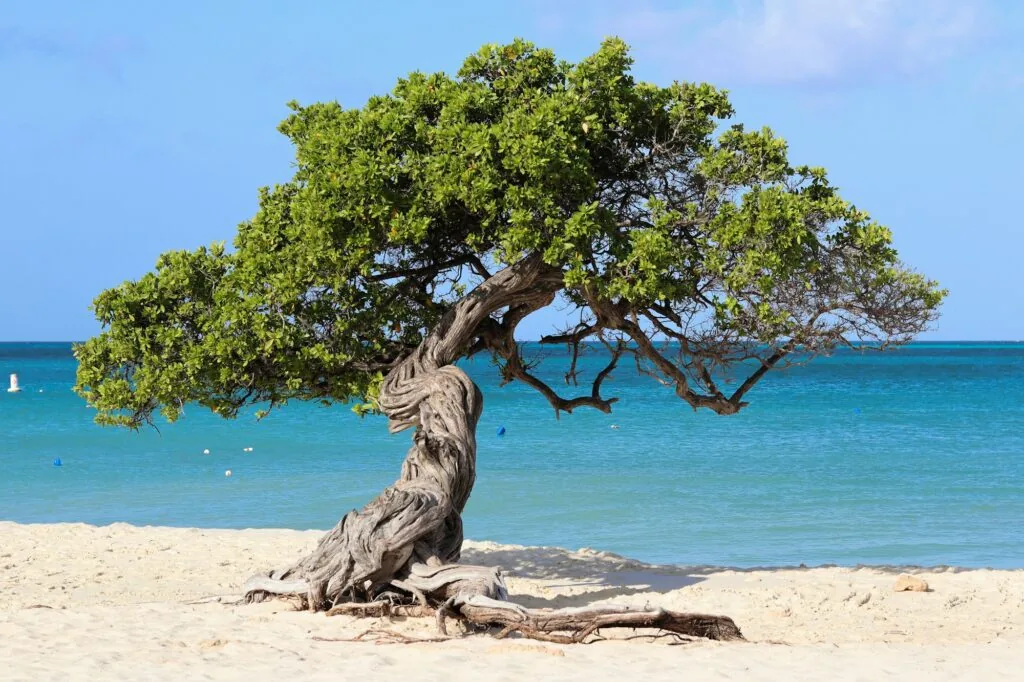
Fofoti trees at Eagle Beach
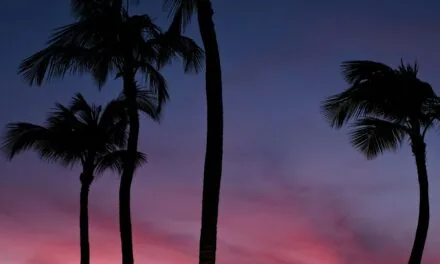
The Aruba Tourism Authority calls the pair at Eagle Beach two of the most photographed fofoti trees in Aruba, and their silhouettes point out toward the Caribbean. Get low so the branches cut into the colored sky rather than the sea. Shoot wide to show the beach, or step back and use optical zoom to make the sun look bigger behind the tree. Eagle Beach is also the widest beach on the island, so there’s usually room to work. Our Eagle Beach guide covers parking and where the trees are.
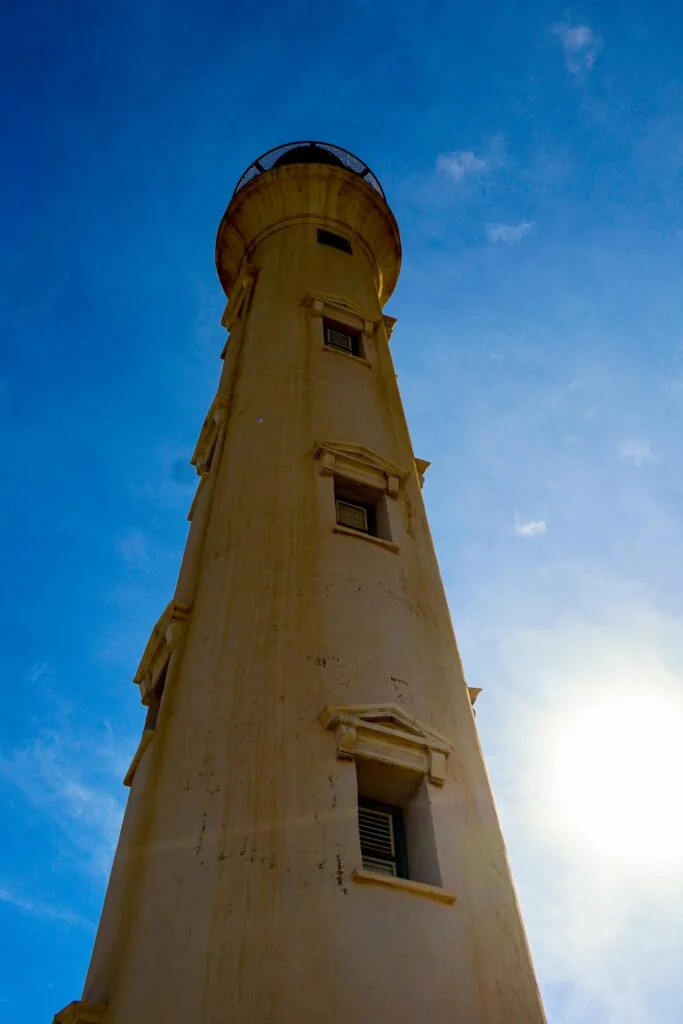
The California Lighthouse
The lighthouse stands in the Hudishibana area near Aruba’s northwestern tip, and the tourism authority names sunset as the best time to visit. Per aruba.com (as of October 2026), it’s open daily from 9 a.m. to 7 p.m., admission is $5 and no reservation is needed; check current status before you go. Frame the tower against the sky from the base, or climb for a view of the western coastline. Nearby Arashi Beach has a west-facing view of the Caribbean. Our north coast guide covers the area.
Boats on the horizon
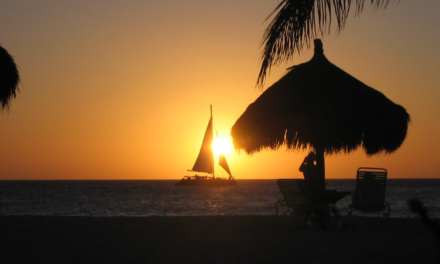
A sailboat or catamaran gives scale to an empty sea. Wait for one to cross the sun’s reflection and use your longest optical zoom. Better still, be on a boat yourself: our sunset cruise guide explains what to expect.
Other foregrounds
Palm trees, beach huts, piers, pelicans on posts and waves breaking on rocks all work. For more framing ideas across the island, see our list of the most photogenic spots in Aruba.
Shooting silhouettes of people
- Put the person between you and the brightest part of the sky. The sky must be behind them, not to the side.
- Expose for the sky. On a phone, tap and lock on the sky, then drag exposure down until the person goes dark.
- Separate the shapes. Arms away from the body, profile views, a little space between people. Overlapping outlines merge into one blob.
- Get low. Crouch so their outline sits fully against the sky and not against the sea or the beach.
- Use motion. Walking, jumping or a twirling skirt reads well in outline.
If you want faces lit by golden light rather than just outlines, it helps to have someone else behind the camera. A professional sunset photoshoot handles timing, posing and editing so you can be in the photos. Our guide to hiring a photographer in Aruba covers what to ask before you book.
Our sunset photoshoot planning guide covers locations, timing and what to wear.
Protecting your gear from wind, sand and salt
Aruba’s trade winds come from the northeast, and the tourism authority describes them as almost always present. That wind is welcome on a hot evening, but it carries fine sand and sea spray.
- Change lenses off the beach. Do it in the car or with your back to the wind, inside a bag.
- Keep a lens hood on. It blocks some spray and flare.
- Carry a microfiber cloth and a blower. Blow sand off first; wiping grit across glass scratches it.
- Wipe salt off afterward. Use a lightly damp cloth on the body and a proper lens cleaner on glass.
- Bag your phone. A zip-top bag or a waterproof pouch helps near the waterline.
Using a tripod on sand
A tripod lets you keep ISO low and bracket cleanly during blue hour. On sand, push the legs down firmly, keep the center column low and hang your bag from the hook for weight in strong wind. Near the water the legs will sink as waves wash in, so rinse them with fresh water afterward.
A note on drones
Drone flying is prohibited in Arikok National Park under the park’s rules. For anywhere else on the island, check Aruba’s civil aviation rules before flying.
After sunset: blue hour, then put the camera down
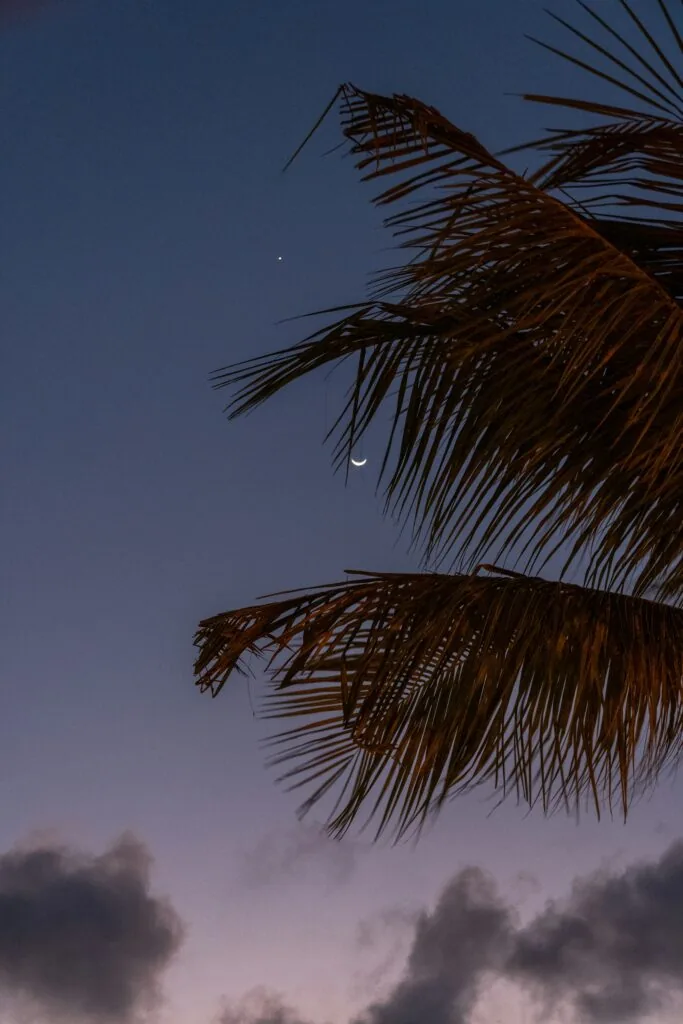
Many people pack up the second the sun touches the water and miss the best color. Give it another 20 minutes for pink clouds, a purple horizon and the first lights along the beach.
Then stop. Check that you have a frame you like and put the phone away. Sunset comes again tomorrow at almost the same time, and watching it without a screen is worth as much as the picture.
FAQ
What is the best time to take sunset photos in Aruba?
Start about 45 minutes before sunset and keep shooting until about 20 minutes after. Sunset falls between about 6:10 p.m. and 7:10 p.m., depending on the month.
Should I use HDR for sunset photos on my phone?
Use HDR when you want detail in both the sky and the beach. Turn it off, if your phone allows it, when you want strong, dark silhouettes.
What camera settings should I use for an Aruba sunset?
A good starting point is ISO 100 to 200, f/8 to f/11, a daylight or cloudy white balance, exposure set for the sky and three to five bracketed frames. Raise the ISO or use a tripod after the sun goes down.
Where can I photograph a sunset with the fofoti trees?
Eagle Beach. The tourism authority describes its two fofoti trees as among the most photographed in Aruba. Get low so the branches sit against the colored sky.
Can I fly a drone for sunset photos in Aruba?
Not in Arikok National Park, where drone flying is prohibited. Elsewhere, check Aruba’s civil aviation rules before you fly.
How do I protect my camera from sand in Aruba?
Change lenses away from the beach, keep a lens hood on, blow sand off before wiping glass and clean off salt spray at the end of the day.
Sources
- Eagle Beach (Aruba Tourism Authority)
- California Lighthouse (Aruba Tourism Authority)
- Arashi Beach (Aruba Tourism Authority)
- Weather and Climate (Aruba Tourism Authority)
- Aruba (Wikipedia)
- Parke Nacional Arikok rules (Aruba Conservation Foundation, PDF)
- Oranjestad Sunrise and Sunset Times (sunrise-sunset.org)